Hold your mouse over any of the numbers below for more information, or click.
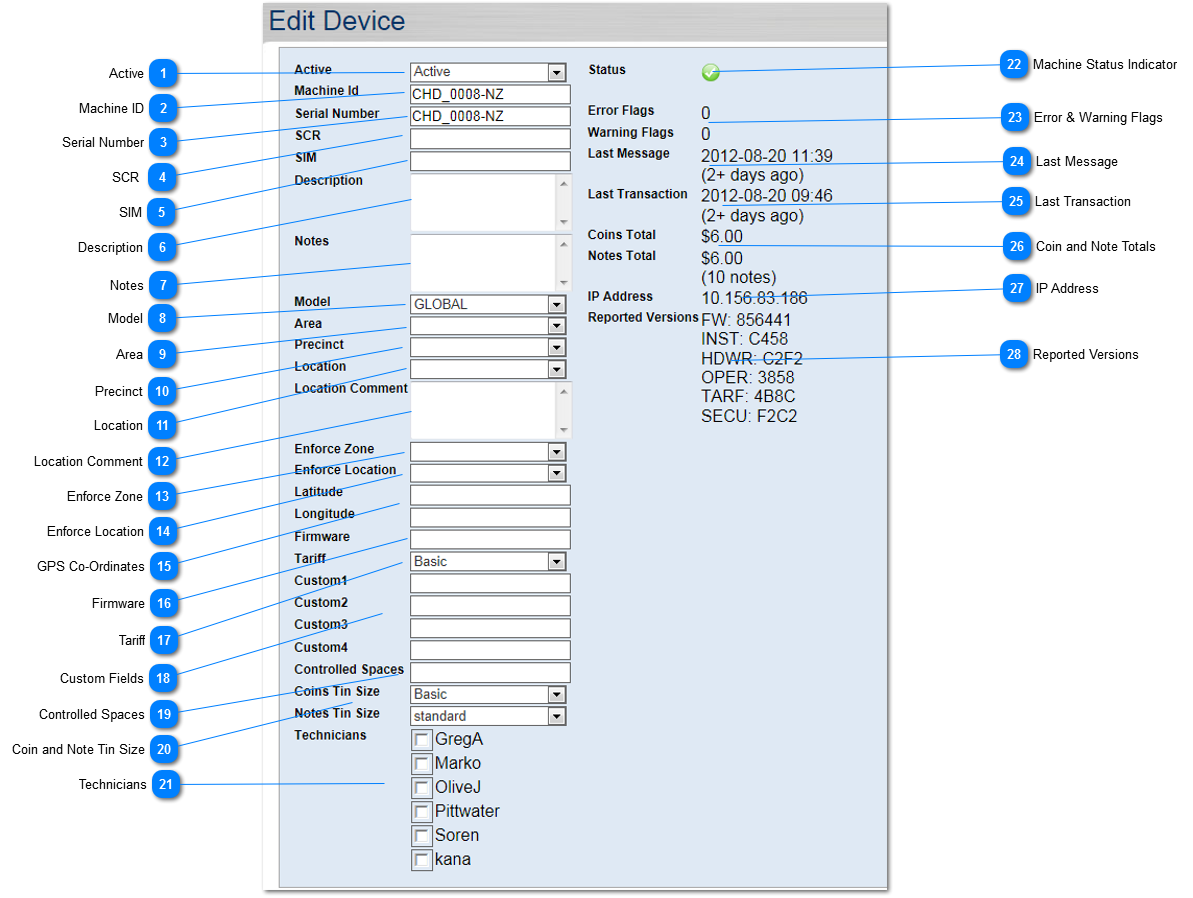
Use this screen to setup your new or existing machine.
For a description of each item hold your mouse over the area and or click for more information.
 Active
Set whether the machine is Active (in operation) , Inactive (Out of Action) or Repair (the machine is in for repairs).
By default the Inactive machines are excluded from reports or in the Maintenance and Revenue screens unless you opt them to be shown using filter controls.
|
|
 Machine ID
Set the Machine ID here - this must be unique to the other machines.
|
|
 Serial Number
Enter the serial number assigned to the machine here.
|
|
 SCR
Enter the Secure Card Reader serial number here.
|
|
 SIM
Enter the SIM Card ID here.
|
|
 Description
Enter a description for the machine here
|
|
 Notes
Any specific notes regarding the machine can be entered here.
|
|
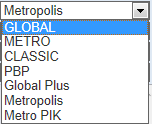
 Model
The machine model type can be selected here from the options displayed above.
|
|
 Area
Select the area the machine is located using the drop down box. You can edit/add area's in the edit Area section - click here for details. |
|
 Precinct
Select the precinct the machine is located using the drop down box. You can edit/add precinct's in the edit Precinct section - click here for details. |
|
 Location
Select the location of where the machine is located using the drop down box. You can edit/add locations's in the edit Location section - click here for details. |
|
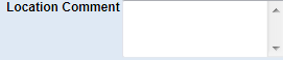
 Location Comment
Enter a comment specific to the machine's location e.g. Opposite supermarket
|
|
 Enforce Zone
Select the Enforcement Zone using the drop down box. You can edit/add enforce zones in the edit enforce zone section - click here for details. |
|
 Enforce Location
Select the Enforcement Location using the drop down box. You can edit/add enforce locations in the edit enforce location section - click here for details. |
|
 GPS Co-Ordinates
If known, enter the GPS lattidue and longitude into these fields and the machine will appear on the maps. You can use the map drag and drop functionality to find the coordinates - click here for more info. |
|
 Firmware
You can manually enter the machine firmware version.
|
|
 Tariff
Use the drop down box to assign what tariff is being used on the machine. This is used for report calculations.
|
|
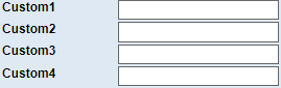
 Custom Fields
These fields can contain any data you may wish to have assigned to the machine.
|
|
 Controlled Spaces
Enter the amount of controlled spaces for the machine.
|
|
 Coin and Note Tin Size
|
|
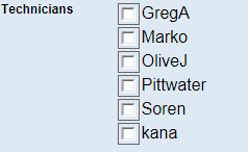
 Technicians
Simply check each user that should be receiving notifications for this machine.
|
|
 Machine Status Indicator
The status of this machine is shown here. Green being OK, Yellow being Warning, Red being error and Black being Inactive
|
|
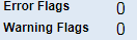
 Error & Warning Flags
If there is currently an issue with this machine then the error and/or warning flags will display the fault ID.
|
|
 Last Message
This displays the last message timestamp.
|
|
 Last Transaction
This shows when the last transaction has taken place.
|
|
 Coin and Note Totals
This shows the current amount of notes or coins that are in the vaults.
|
|
 IP Address
The IP Address of the machine is displayed here.
|
|
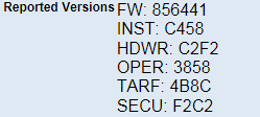
 Reported Versions
The module versions are reported by the machine and displayed here. E.g. Firmware version etc.
|
|
 EziCom2 User Guide